|
<< Click to Display Table of Contents >> Add Repair item |
  
|
|
<< Click to Display Table of Contents >> Add Repair item |
|

Just enter the information about the Repair Item. The more you enter, the better information you will have about the item in the future. When you're done click on the green check mark to save.
If this is not a vehicle, you can turn off vehicle information in the company setup area. You may also rename the fields Vin/Serial#, License, Odometer/Hours, Unit Number, Engine, Engine Size, and Engine# to something that suits your business. This is also done in the company setup form.
To add a picture to the repair item click the icon to the right of the Picture field to select a picture. The program will take you to the images folder located under the wrench folder, where the program is installed. If you take pictures, put the pics (jpg's, gif's, bmp's) into the images folder.
Notice the buttons Year, Make, and Model. These allow you to lookup by Year Make and Model (YMM). If you have not created the YMM file, you can go to the Customer / Browse Master List to create the YMM File from your current Unit/Vehicle file and the Master Unit/Vehicle file.
Click on the Memo Tab to view or edit the memo
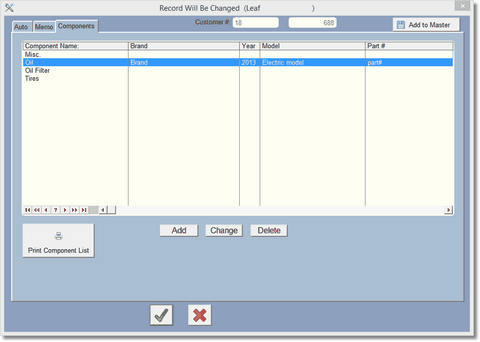
Click on the Components Tab to view Components for this vehicle.
Click on the Add to Master to add this Unit/Vehicle to the master list. Do not do this more than once per vehicle.